LibrePad

Build one

Build a LibrePad at home.

Ten steps, from a box of parts to a child reading. Take them in order: each one builds on the one before. Everything here is free to copy, fix and share.

Skills

Soldering a few wires, and following a pin chart.

Tools

A soldering iron, wire strippers, a multimeter, and a computer with the Arduino IDE.

For the case

A 3D printer, or a local printing service.

The ten steps

Gather the parts

Everything comes off the shelf. The two boards come from Seeed Studio and the screen from Good Display; the rest is in any electronics parts drawer.

PartWhat it doesNotes
Seeed Studio XIAO nRF52840The brain: runs the reader and talks BluetoothThe plain one, not the "Sense"
Seeed ePaper Breakout Board for XIAO V2Drives the screen; its booster powers the XIAO from the batterySeeed part 6374
7.5-inch e-paper panelThe screen: 800 × 480, black and whiteGood Display GDEY075T7 (Seeed 104990861)
W25Q128 flash moduleThe memory: holds the book (16 MB)Any W25Q128 module with labelled pins
4 push buttonsPages and chaptersMomentary, normally open
ResistorsLet two pins read four buttonsTwo 10 kΩ and two 3 kΩ
A small on/off switchThe refresh switchAny single-pole switch
3.7 V LiPo batteryPowerA protected cell of 500 mAh or more (step 7 says why)
LiPo charging moduleCharges and protects the batteryIts output is the battery's own voltage
Hook-up wireEverything elseThin, stranded
The caseHolds it all together3D-printed (step 8)

Load the firmware onto the XIAO

Do this first, on the bare board. It is the easiest moment to find out the XIAO works, before anything is soldered to it.

  1. Install the Arduino IDE.
  2. In File → Preferences, add this to Additional boards manager URLs:
    https://files.seeedstudio.com/arduino/package_seeeduino_boards_index.json
  3. In the Boards Manager, install Seeed nRF52 Boards (LibrePad is built with version 1.1.13), then choose the board Seeed XIAO nRF52840: not the "Sense", and not the "mbed-enabled" package. The libraries the firmware needs come with it; don't install other versions of them.
  4. Get the firmware: the firmware/librepad folder of the LibrePad source (on GitHub soon, see Open source). Open librepad.ino.
  5. Plug the XIAO in with a USB-C cable that carries data, choose its port, and press Upload.
  6. Open the Serial Monitor at 115200 baud. The reader reports what it finds every few seconds. Until the memory is added in step 4, it says it can't find it; that's expected.
Keep the firmware's memory settings as they are.Some flash libraries' default settings write a setting into this kind of memory chip that can disable it for good. LibrePad's firmware is set up so it never does.

Connect the screen

The breakout board sits between the XIAO and the screen: the XIAO plugs into it, and the screen's ribbon cable plugs into its connector.

  1. Open the latch on the breakout's screen connector, slide the panel's ribbon all the way in, and close the latch.
  2. Fit the XIAO onto the breakout, matching the printed pin names.
  3. With the multimeter, check that the breakout's BUSY pin connects to the XIAO's D2. On our board it didn't, so we soldered a short wire from BUSY to D2.
7.5-inch e-paper panel GDEY075T7 · 800 × 480 ribbon ePaper breakout V2 XIAO BUSY to D2
Through the breakout: RST → D0, CS → D1, BUSY → D2, DC → D3, clock (SCK) → D8, data (MOSI) → D10.

Add the memory

The book lives on the W25Q128 module, 16 MB, enough for a long novel with its quiz. It shares the screen's clock and data pins and gets two of its own.

Memory moduleXIAO
CSD7
DO (MISO)D6
CLKD8
DI (MOSI)D10
VCC, WP, HOLD3V3
GNDGND
Go by the labels printed on the module, not by the order of its pins.Modules differ. A six-pin module with no WP or HOLD pins already has them connected.

Check it with the Serial Monitor. A blank memory with no book yet looks like this:

boot: LIBREPAD image INVALID, parse_reason=2, store_ok=1
      waiting for an update over USB or BLE

store_ok=1 means the memory answered; parse_reason=2 means it's empty, which it should be. If you see store_ok=0, check the six wires.

Wire the four buttons

Two pins read all four buttons. On each pin, one button connects straight to 3.3 V and the other through a 3 kΩ resistor, so the pin sees a different voltage for each; a 10 kΩ resistor holds it at zero when nothing is pressed.

Left pair → pin D5 3V3 Far left button 3 kΩ Left button 10 kΩ GND D5 Right pair → pin D4 3V3 Right button 3 kΩ Far right button 10 kΩ GND D4
Mounted left to right, they are: far left, left, right, far right. Press each one once a book is on the reader, and the Serial Monitor names it, e.g. far-right button, tap: next chapter.

Add the refresh switch

One side of the switch to D9, the other to GND. That's all: the firmware supplies the pull-up.

Flip it either way and the reader redraws the page from clean. E-paper can keep a faint trace of the page before; this clears it.

Add the battery

The breakout board has a booster that turns the battery's 3.7 V into 5 V for the XIAO, and a switch that turns the whole reader on and off.

  • LiPo battery3.7 V, protected
  • Charging modulecharges and protects
  • Breakout: BATthe pads underneath
  • Breakout: switchon and off
  • Boosterabout 4.8 V out
  • XIAO: 5Vit makes its own 3.3 V
  1. Solder the charging module's output to the breakout's BAT pads, on the underside of the board.
  2. If the XIAO is wired to the breakout rather than plugged into it, add one wire from the breakout's 5V to the XIAO's 5V.
  3. Switch on and measure: about 4.8 V on 5V, and 3.3 V on 3V3.
Never connect the battery, or the charging module's output, to 3V3.It isn't regulated, and it will damage the XIAO.
Mind the charging current.With USB-C plugged into the XIAO, the breakout charges the battery at 0.5 A. That is fine for a 500 mAh cell or bigger. With a smaller one, switch the breakout off before you plug in USB, and charge the battery through its charging module instead.

Build the case

The case is 3D-printed. Its models will be on Onshape, ready to print as they are or to change (see Open source).

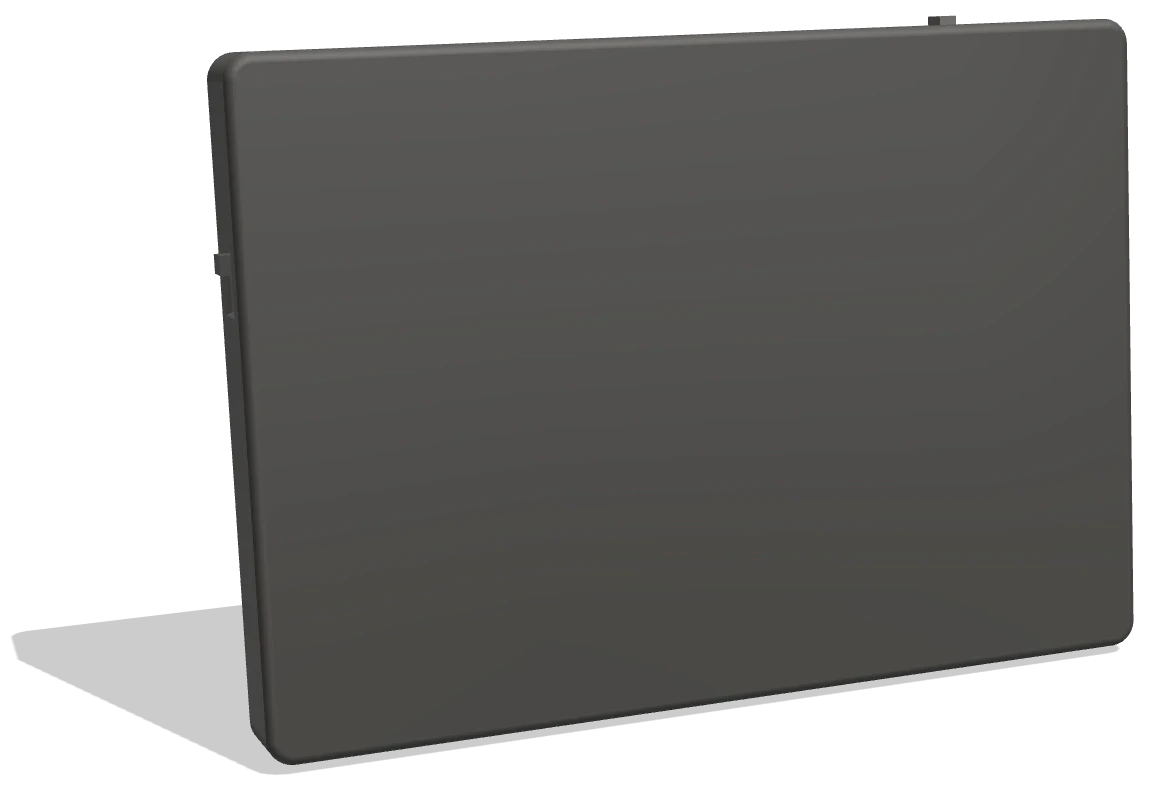
The finished case seen from behind, with its back cover on
The case from behind, with its back cover on. The cover closes over the boards and the battery.
  1. Print the parts.
  2. Fit the screen behind the front window, then the boards and the battery behind it.
  3. Mount the four buttons in a row, in their order from step 5, and put the switch where a grown-up can reach it.
  4. Before closing it up, turn a few pages. If the page is upside down, the firmware can turn it (LP_DISPLAY_ROTATE_180 in board_pins.h); never repack the books.
  5. Close it with the back cover.

Send it a book

Books go onto the reader over Bluetooth, from the LibrePad Library, a web app that runs in Chrome on an Android phone or a computer. (An iPhone can browse the Library but can't send: its browsers don't have Web Bluetooth.)

The Library, in Chrome The reader
  1. Open librepad.app in Chrome and sign in.
  2. In Books, pick a book. Leave Quiz after each chapter on, or turn it off.
  3. Press Send to reader and choose LibrePad Reader in Chrome's list. Keep the phone close until it says it's done.
  4. The reader opens the book by itself, on its first page.
The LibrePad bookshelf is by invitation for now.We are getting ready to open it to everyone. The book converter and the bookshelf itself are part of the open-source release, so you'll also be able to make your own books, or run your own shelf.

Read

That's it: hand it over. Here is what each button does on each screen, so you can test yours. To see the screens as a child does, try the buttons on the home page.

ScreenFar leftLeftRightFar right
ReadingPrevious chapterPrevious pageNext pageNext chapter
Quiz timeBeginning of the chapterPrevious pageStart the quizSkip the quiz
QuestionABCD
AnswerAny button goes on
ScoreTake it again, for practiceKeep reading
  • A few quick taps on a chapter button skip that many chapters.
  • A page turns in about two seconds. Every sixth turn, the screen flashes once to keep the page crisp.
  • Taking a quiz again is practice: the score stays the first try's, and only the Library can reset it.
  • The reader remembers where it was in each of the last twelve books sent to it, quiz answers included.

What next

Two more ways to join in.

You can also get a ready-made LibrePad, or help teachers make the shelf better.